How to Design a Gallery Wall

There’s something about a new year that makes us crave change. And when it comes to interiors, the opportunities are endless. From updating lighting to swapping out hardware, we love experimenting with our space to find the perfect piece that makes a house truly feel like home. One such avenue we’ve been exploring lately is art. Elegant and easy to install, gallery walls add warmth and personality with little effort.

The best part is you don’t need a large collection to put up a gallery. The truth is, accumulating art takes time, and we’re surrounded by various forms of it in our day-to-day. Everything from a beautiful linen to a simple floral arrangement often functions as art – adding character to spaces in unexpected ways. As you read through below, we encourage you to focus less on perfection and more on curating a collection that inspires joy. Without further ado—here are our "ABC's" for arranging art effortlessly.
Organic Layout
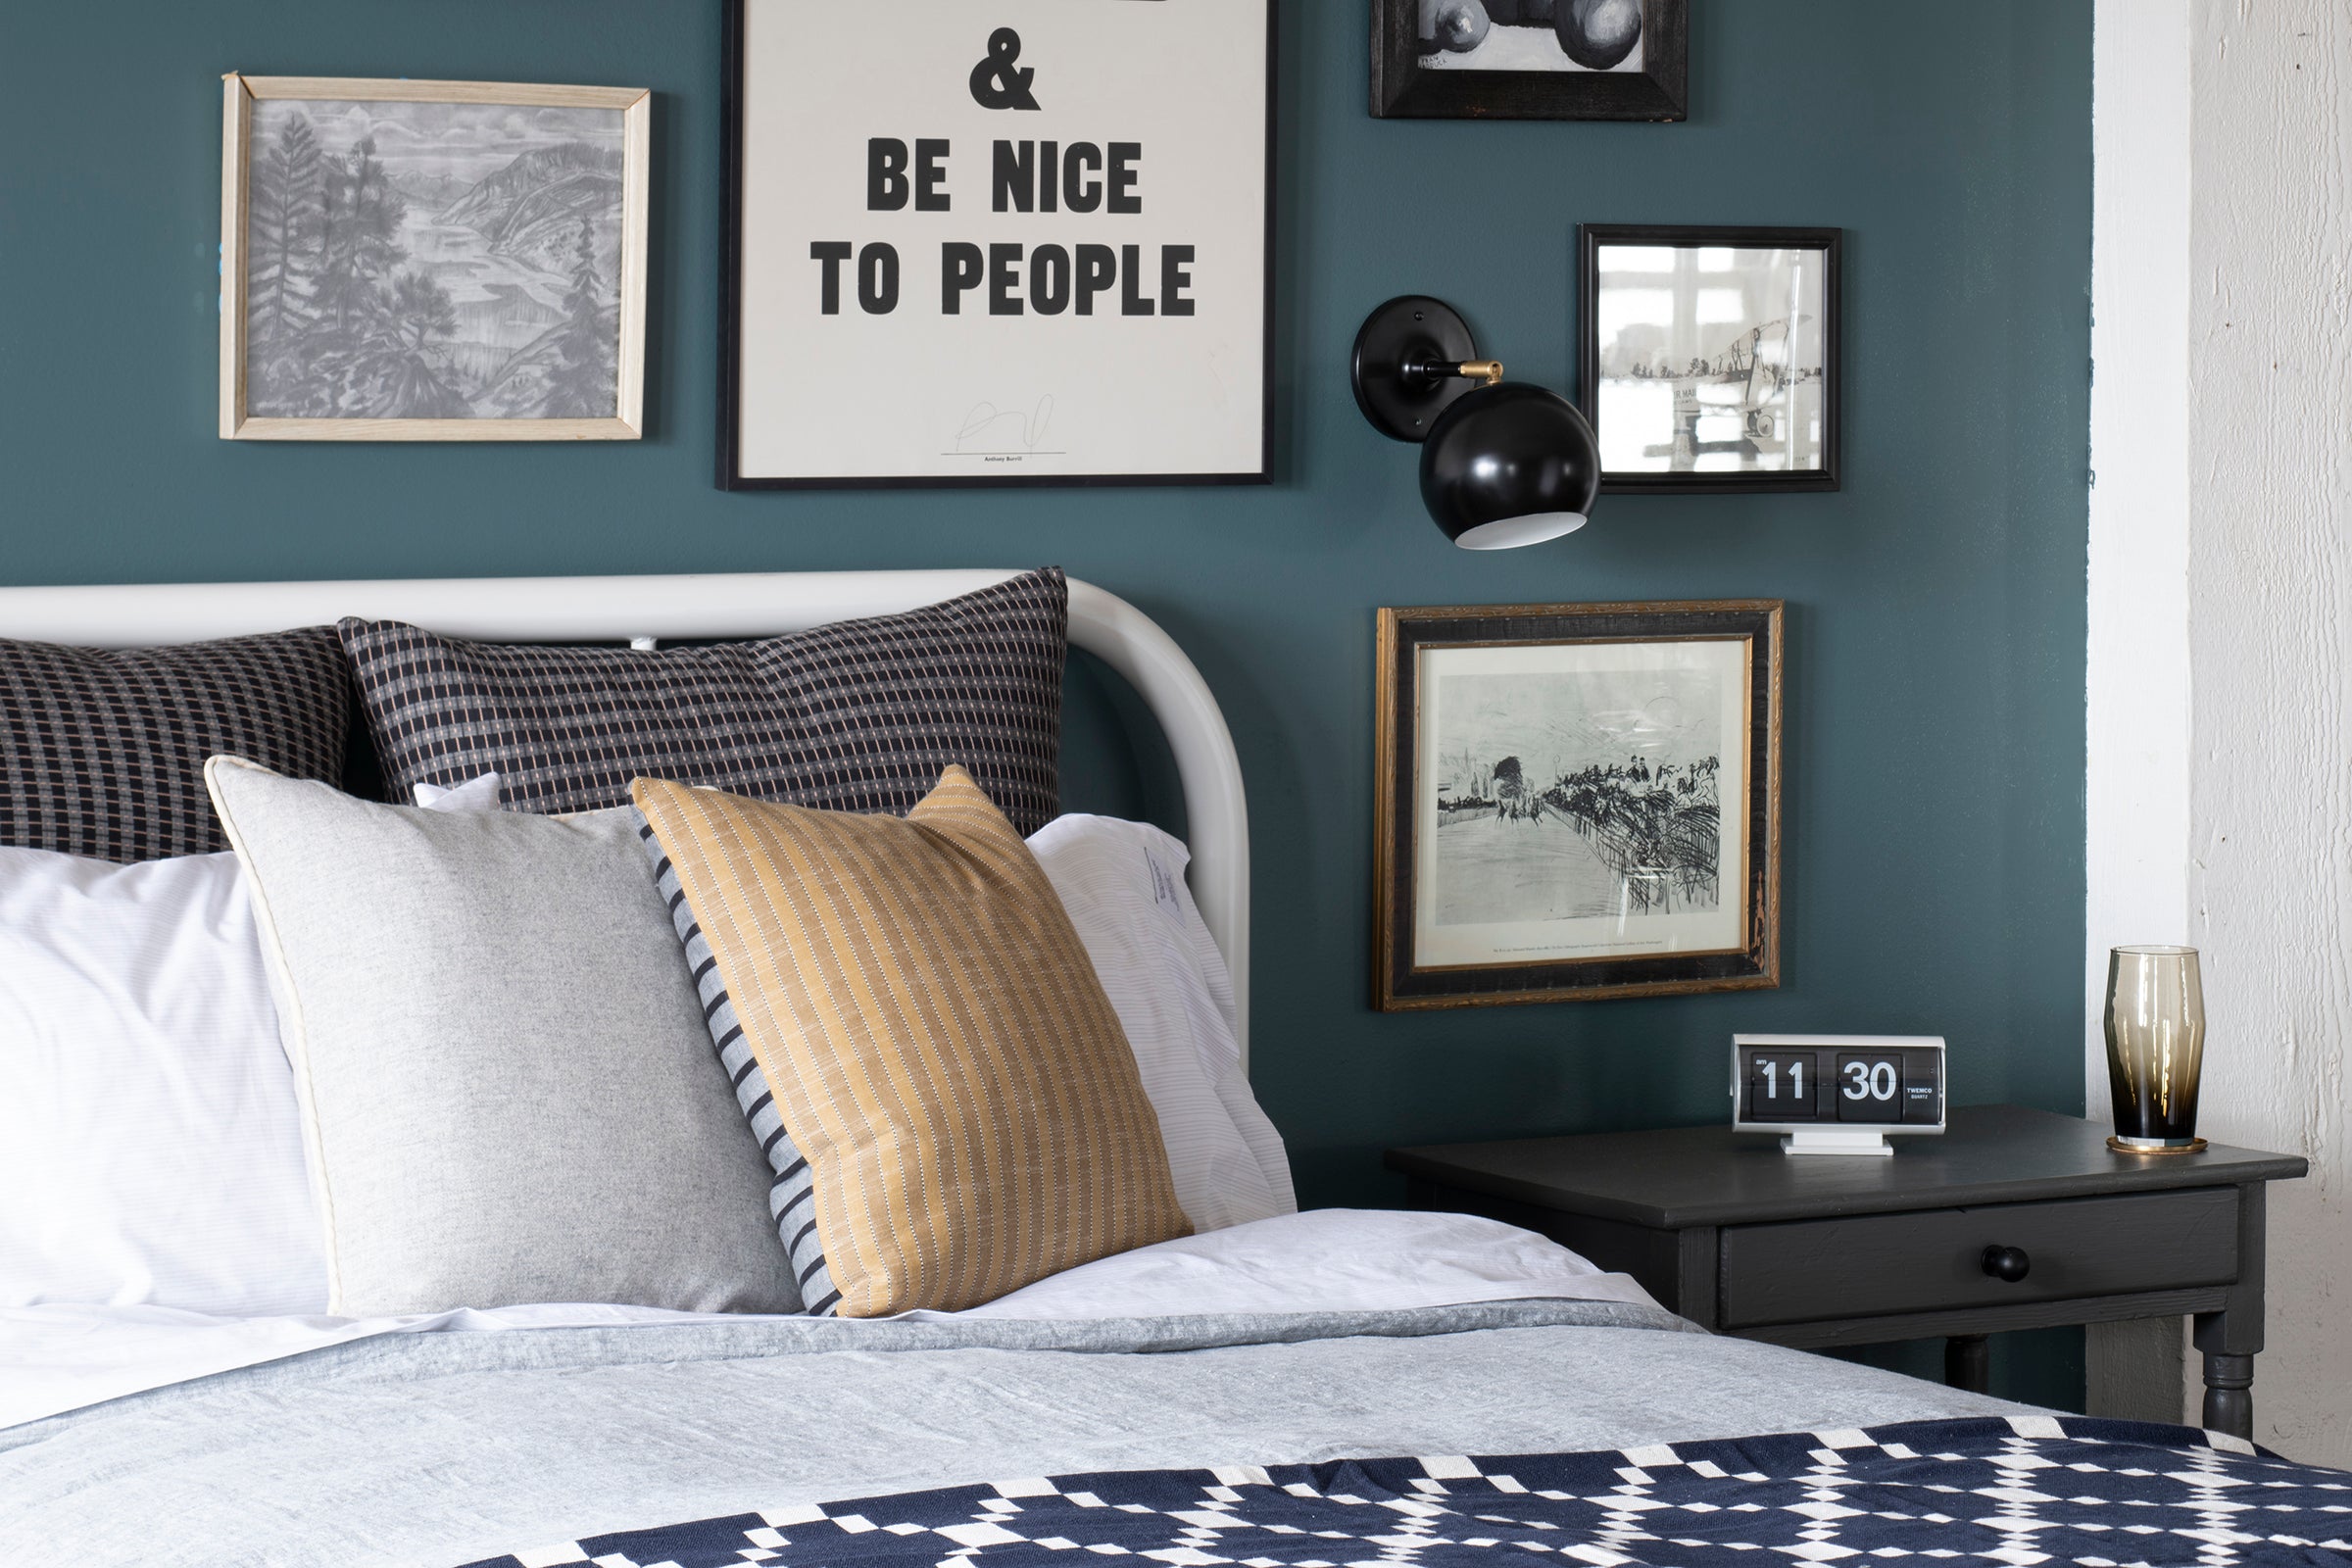
One of the best parts of collecting art is that you’ll likely never be finished. Working with an organic layout allows you to create a grouping that will grow and change over time. First, select 1-2 larger works to ground the gallery. Hang the largest pieces towards the center of the grouping, then set smaller frames around it. The trick here is to determine a focal point and let the rest flow organically, selecting pieces with varying dimensions, textures, and colors to tell a story.
When it comes to spacing, don't feel like it needs to stay the same across the arrangement. Simply, set a range and try to work within it. We typically like to leave 2”-4” of spacing between works to keep the gallery feeling dynamic yet unified.
Side by Side
Hanging two pieces side by side is a simple and sure way to add personality to a space with minimal effort. Select frames that are similar in size to keep the grouping feeling cohesive. Sticking to a coordinating color palette, art style, or theme will also help tell a visual story.
Place two prints above the bed, living room couch, or dining nook for a timeless look that’s easy to switch up. When hanging above furniture, we generally recommend at least 4”-6” of space.
Via @blackard_modernfarmhouse, @kristinecoffman
Tip: Give the gallery room to breathe. Arguably, one of the keys to good design is balance. In this case, it means making room for the eye to rest.

Single Statement
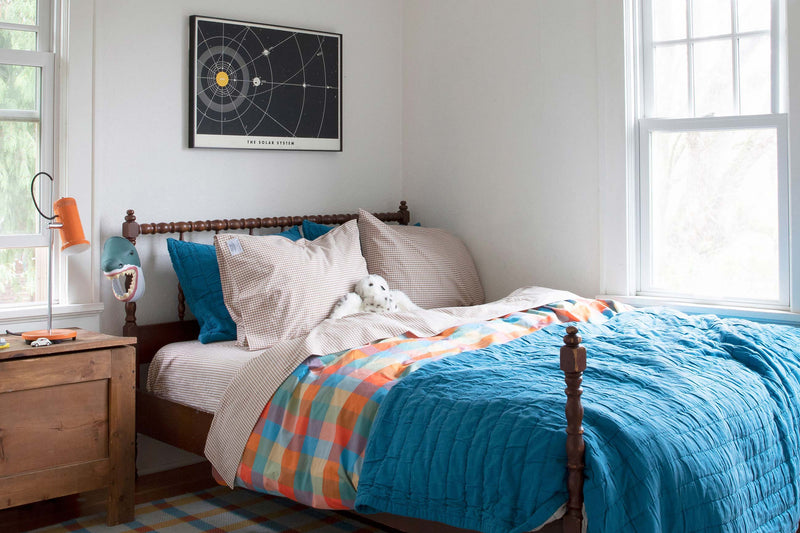
An art option equally suited for the minimalist and maximizer, hanging a single art piece can be quiet or loud depending on the context. When working with larger works, select a light and airy frame to keep the interior from feeling cramped or cluttered.
Just as impactful, smaller standalone pieces are perfect for bedrooms, hallways, and bathrooms – lending a quiet calm and elevating often overlooked places.
Tip: As a general rule of thumb, we recommend hanging so that the center of the piece is at eye level, which is typically 57”-60” from the floor.

Layered Look
The perfect grouping for a mantel, wall shelf, or bare bedroom floor, the layered look is an ideal option for those who like to switch up decor regularly. All you need is 2-3 larger rectangular pieces and a surface to arrange them on. Prop the largest piece against the wall and layer other works around it, letting it overlap by a few inches.
Layer art with a lamp, plants, and other styling pieces to create a display that feels cozy and considered. A tried and true trick, use a small amount of sticky tack and set it at the top or bottom of the piece to help keep frames from slipping off the surface.

Via @bradytolbert
Tip: Stacking books in front of the arrangement adds a creative element and also helps keep everything in place.


Via @francois_et_moi, @dabito
When all is said and done, selecting and arranging art is a deeply personal exercise. If anything, we hope this guide serves as a starting point to experiment with your space as you continue to build a collection that inspires joy.
 Via @hellosaratrampinteriors
 Via @kaitiemoyer


