How-To: Tips for Arranging Flowers Like a Pro
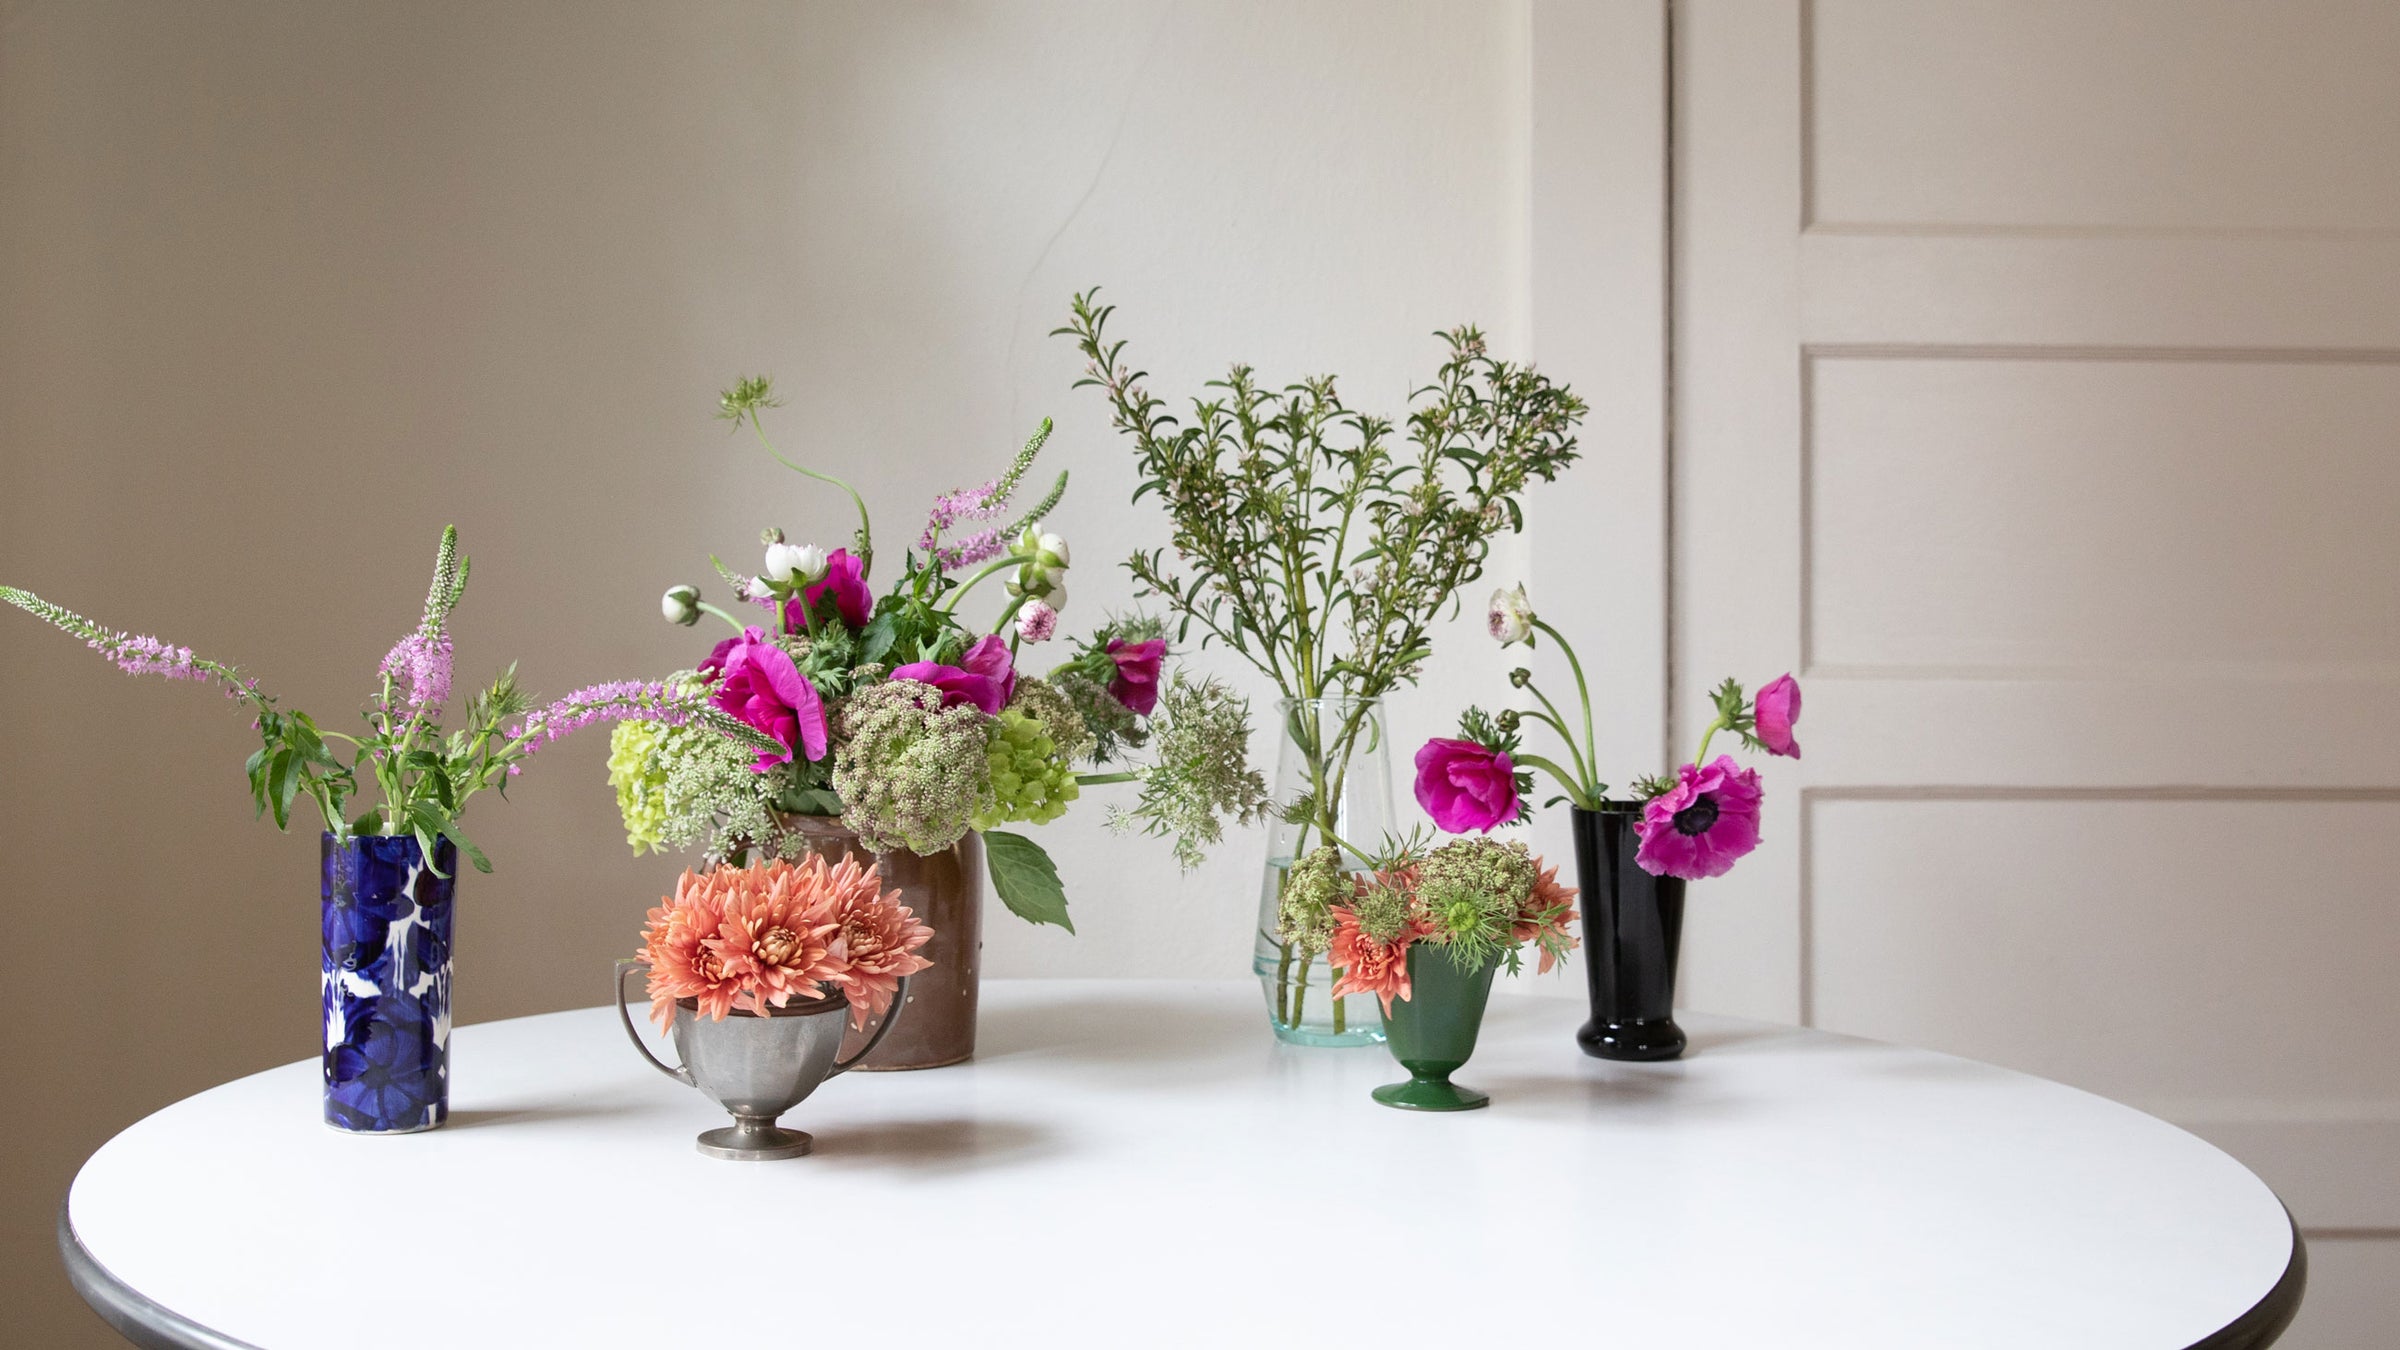
There’s something about fresh flowers that makes a space feel extra special. The best part? All you need is a vessel, greenery, and a pair of scissors to make your own beautiful display.
While anyone can place flowers in a vase and call it a day, we’ve found that a little bit of thoughtfulness can go a long way in making an artful arrangement. In the spirit of (possibly preemptively) celebrating all the sunny days ahead, we asked Schoolhouse friend and interior expert, Jorie, to share her tips for styling flowers like a seasoned pro.

Materials
-
Fresh flowers (1-2 varieties of focal flowers, 1-2 varieties of filler flowers)
-
Vase or other vessel
-
Scissors
Step 1: Decide on Design
Before starting the actual arranging, think about what you want the overall silhouette and shape to be. Is it something fuller, bigger? Lots of loose blooms or a bouquet that is a little tighter?
Another way to approach the design is to start by picking a palette or general theme as you're shopping or foraging for flowers. What colors, textures, shapes are you most drawn to when it comes to the art in your home or the clothes in your closet? The best advice I have been given is to go with your gut.

Step 2: Pick your Showstoppers
Next, go through and pull out the blooms that have the most personality or are the most vibrant in color. Think of these flowers as playing the lead role and any other fillers as your supporting cast. You'll want to hold on to the brightest and most visually appealing pieces and add them in later as focal flowers.
Pro tip: Bright blooms like ranunculus, peonies, poppies, lilacs, and snapdragons make great showstoppers.

Step 3: Create a Foundation
Once you're ready to start arranging, create a base layer using filler flowers and leaves (we used hydrangeas and queen anne's lace). It may be tempting to layer in bright colors right away, but resist the urge! Sticking with a neutral foundation gives you the freedom to play later and keeps the overall aesthetic from feeling muddled. As you go, remove any leaves that are going to be near the water.

Step 4: Shape and Measure
After the foundation is set, expand and experiment with the shape. We wanted this bouquet to be more organic in shape, so we used loose leaves and included fewer flowers. Next, measure the flower height, keeping your original silhouette in mind. To do this, line up the flower next to your container and eyeball where you want to cut. Remember, you can always trim off more, but you can't add stem length back.
Pro tip: Cut stems at a 45 degree angle to allow for the most water to hit the surface.

Step 5: Finesse with Focal Flowers
Now for the most rewarding part — go back through and add pops of colors with your focal flowers. For this arrangement, we layered in anemone and ranunculus. As you go along, rotate the vase to make sure it’s filling in evenly, alternating heights, shapes, and colors throughout.
Pro tip: Add focal flowers in odd numbers to make it look more natural.

Step 6: Finish with Fillers
This last step is often overlooked, but possibly the most important as it will help make your arrangement feel cohesive and complete. After you've added your focal flowers, do a quick scan to see if any spots look bare. If there are empty sections, add in with filler.
And there you have it! If you have any extra blooms you can make multiple arrangements or dry them out to decorate with later. Enjoy!

