Homemade Spring Pasta Primavera

We’re already in the middle of (a very unusual) time and while there is nothing but uncertainty all around us, we can always count on two things: The beauty of fresh spring produce and the comfort that comes from cooking.
Normally we like to feature simple and uncomplicated recipes that provide elevated food in a hurry but given that many of us have more free time on our hands than ever, it felt like the right time to tackle a fun and rewarding new challenge: Homemade Pasta Primavera. Who’s in?

"A happy spring dish that highlights all the best and brightest flavors this season has to offer."
Making the fresh dough itself and shaping each piece of Garganelli adds a fun (albeit time-consuming) layer of activity if you’re looking to flex your culinary muscles. If you want to skip the fresh pasta part altogether, just head to the end because, as the wise Ina Garten would say, ‘store bought is fine!’.
Garganelli Primavera
Pasta Primavera is a spring pasta that benefits from fresh spring produce, however this recipe can also be made year-round using out of season asparagus and frozen peas. Garganelli is a tubular pasta shape similar to penne that is well-suited to this dish because it matches the size and cut of the asparagus as well as being a perfect vessel to capture peas inside. - @seasonofsalt

NOTES
- ¾ lb store bought penne pasta can be substituted for fresh garganelli.
- “00” flour can be found in specialty grocery stores and online. 1-1/3 cups all-purpose flour can be substituted for “00.”
- Semolina flour can be found in most supermarkets in the Bob’s Red Mill aisle. If you cannot find it do not substitute with all-purpose or “00” flour. Instead, just ensure the garganelli do not touch otherwise they may stick together. Place on a wire rack if possible to further prevent sticking.
Tools needed:
- Although not absolutely necessary, a machine like this will make rolling the dough much easier
- A bench scraper is also useful
- Spray bottle full of warm water
- Rolling pin
- Wooden dowel or any long round object roughly 3/8" in diameter
- Gnocchi board or other textured surface such as a cheese grater
- Ruler
INGREDIENTS
For the pasta dough (see note)
- 180 g “00” flour, about 1-¼ cup (see note)
- 1 whole egg
- 3 egg yolks
- ¾ teaspoon olive oil
- ½ teaspoon kosher salt
- Semolina flour for dusting (see note)
For the sauce:
- 1 lb asparagus, woody ends removed, stalks cut on a sharp bias into 2 inch pieces
- ½ cup fresh or frozen peas
- 1 tablespoon unsalted butter
- 1-2 tablespoons olive oil
- 2 cloves garlic, minced
- Lemon juice
- 4 oz (½ cup) crème fraiche, plus more as needed
- Zest of half lemon
- ¼ cup toasted pine nuts
- Parmigiano Reggiano
- 2 tablespoons fresh parsley, minced

DIRECTIONS
For the garganelli
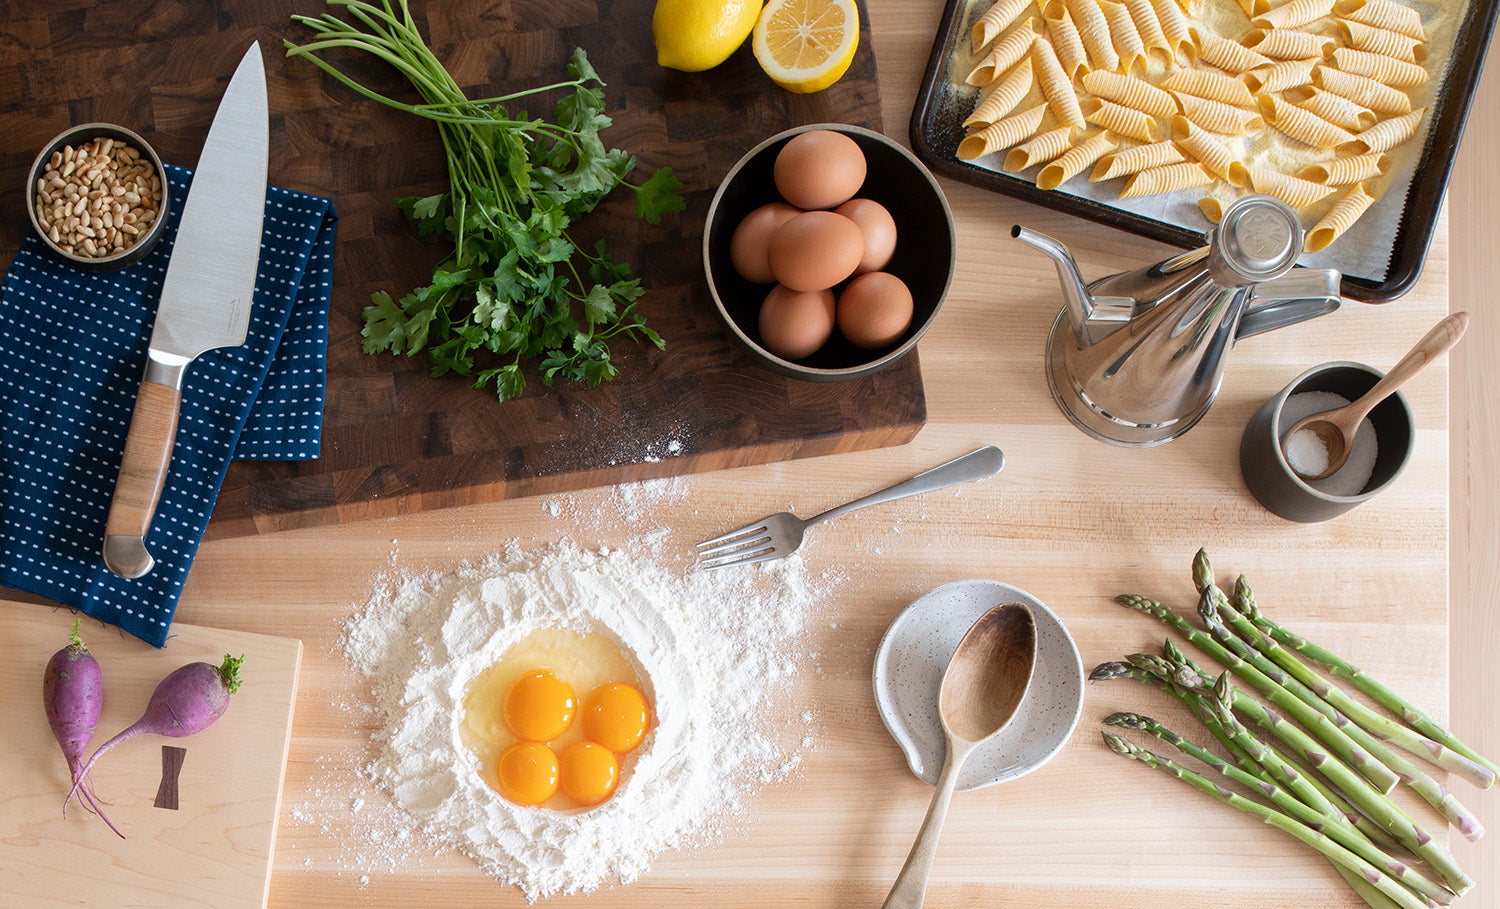
1. On a clean counter or large cutting board, make a mound of flour and use the back of a measuring cup to create a large well in the middle leaving about a quarter inch of flour on the bottom. Place egg, yolks, olive oil, and salt in the well and gently mix with a fork. Slowly incorporate flour wall into the wet ingredients taking care not to scrape the bottom. Once it becomes a solid mass, scrape any excess dough from the fork and continue mixing in the rest of the flour. Use the spray bottle liberally to incorporate all of the flour.

2. Knead the dough for 10 minutes. To knead, drive the heel of your hand firmly into the dough to create an oblong shape. Fold this in half, rotate 90 degrees and repeat. It’s virtually impossible to over knead pasta dough, but doing so for too long could dry out the dough. Use the spray bottle as needed to get the texture just right. It should be smooth and elastic and feel like Play-Doh. Wrap tightly in plastic wrap and rest at room temperature for at least 30 minutes. After this rest, if you don’t plan to use the dough in the next few hours you can refrigerate it. Just let it come back up to room temperature for about an hour before attempting to roll the dough.
3. Use a rolling pin to roll the dough thin enough that it will fit through the widest setting on your pasta machine. Roll it through the widest setting twice, then adjust your machine to the next thinnest setting. Continue this process rolling it through progressively thinner settings rolling twice through the first three settings until it’s the fifth setting (some machines start at “0” so the “fifth” setting may read “4”).
4. Divide the dough in two equal halves. Fold both ends to the center like French doors then fold this in half again for 4 layers. Repeat the process for both halves.

5. Use a rolling pin to thin out the layered dough halves then return the pasta machine to its widest setting and roll the dough halves into sheets, going progressively thinner each time up to the sixth or seventh setting depending on your machine and preference. Note that you’ll actually be rotating the dough halves 90 degrees for this second round of rolling. If after you’ve reached the desired thickness the pasta sheets aren’t the full width of the machine, give them a light spray of water then fold in half lengthwise. Dial the machine back one setting thicker and continue rolling to the desired thickness and maximum width.
6. Cover one sheet with plastic wrap or a clean dish towel so it doesn’t dry out. Trim any rough edges. Cut the pasta sheet into thirds lengthwise then cut these strips into squares about 1-¾" × 1-¾".

7. Place a square of pasta on a textured surface rotated 45 degrees like a diamond. Using a wooden dowel, roll the bottom corner away from you, pressing firmly to roll the pasta into a sealed tube. Place finished pasta shapes onto a large baking sheet dusted with semolina flour. Avoid having them touch so they don’t stick together. When finished, dust with additional semolina to prevent sticking. Allow pasta to dry for at least 30 minutes at room temperature or up to a couple days uncovered in the refrigerator.

For the Pasta Primavera:
- In a small pot boil 1 quart of water with 1 tablespoon kosher salt. Meanwhile, prepare an ice bath in a medium bowl. Blanch asparagus for 1 minute then transfer to ice bath. Repeat for peas if using fresh. If using frozen peas thaw them under cold running water. Let drain on paper towels.
- In a large pot, boil 3 quarts of water with 2 tablespoons kosher salt. Once boiling toss in a couple teaspoons of semolina flour (if using) and let boil 1 minute. Cook garganelli tasting every minute until just shy of al dente, about 2-3 minutes depending on how long it dried. If using store-bought penne, cook about 1 minute less than the package states. Remove from water and reserve the pasta water.
- Meanwhile, in a large skillet melt butter and olive oil over medium heat until foaming subsides. Cook garlic until fragrant, about 1 minute. Add lemon juice and ½ cup of the pasta water. Increase heat to medium high and cook until reduced by about half. Remove from heat.
- Transfer cooked pasta to the skillet and return to medium high heat. Add crème fraiche, lemon zest, pine nuts, and toss to combine. Reduce sauce to a thick creamy consistency, adjusting with more pasta water and/or crème fraiche as needed. Add asparagus and peas, tossing until heated through. Off heat, stir in a generous amount of grated Parmigiano Reggiano. Once a sauce has formed, stir in parsley and season to taste with salt and pepper. Serve immediately on warmed plates and top with shaved Parmigiano Reggiano.


Recipe by Jay Bartholomew

