Easy Arts & Crafts: Flower Pressed Painting

Welcome to Arts & Crafts Week at Schoolhouse Summer Camp — a seasonal series intent on bringing joyful nostalgia to the everyday through fun childhood-inspired activities and recipes.
Earlier, Schoolhouse friend (turned camp counselor) Jorie shared her ice dyeing and potato printing how-to. Next up, we have a classic craft that is super fun and easy to execute. Below, Alex shares a floral-forward art project that feels oh-so-right for these warm summer days. Read on (or watch here) to learn how to make a DIY flower-pressed painting.
SUPPLIES:
-
Canvas
-
Acrylic paints (or paint of choice)
-
Paintbrushes
-
Flowers of your choice
-
Parchment paper (not wax paper)
-
Heavy microwave-safe dish
-
Spray adhesive
-
Frame for canvas (optional)
DIRECTIONS:
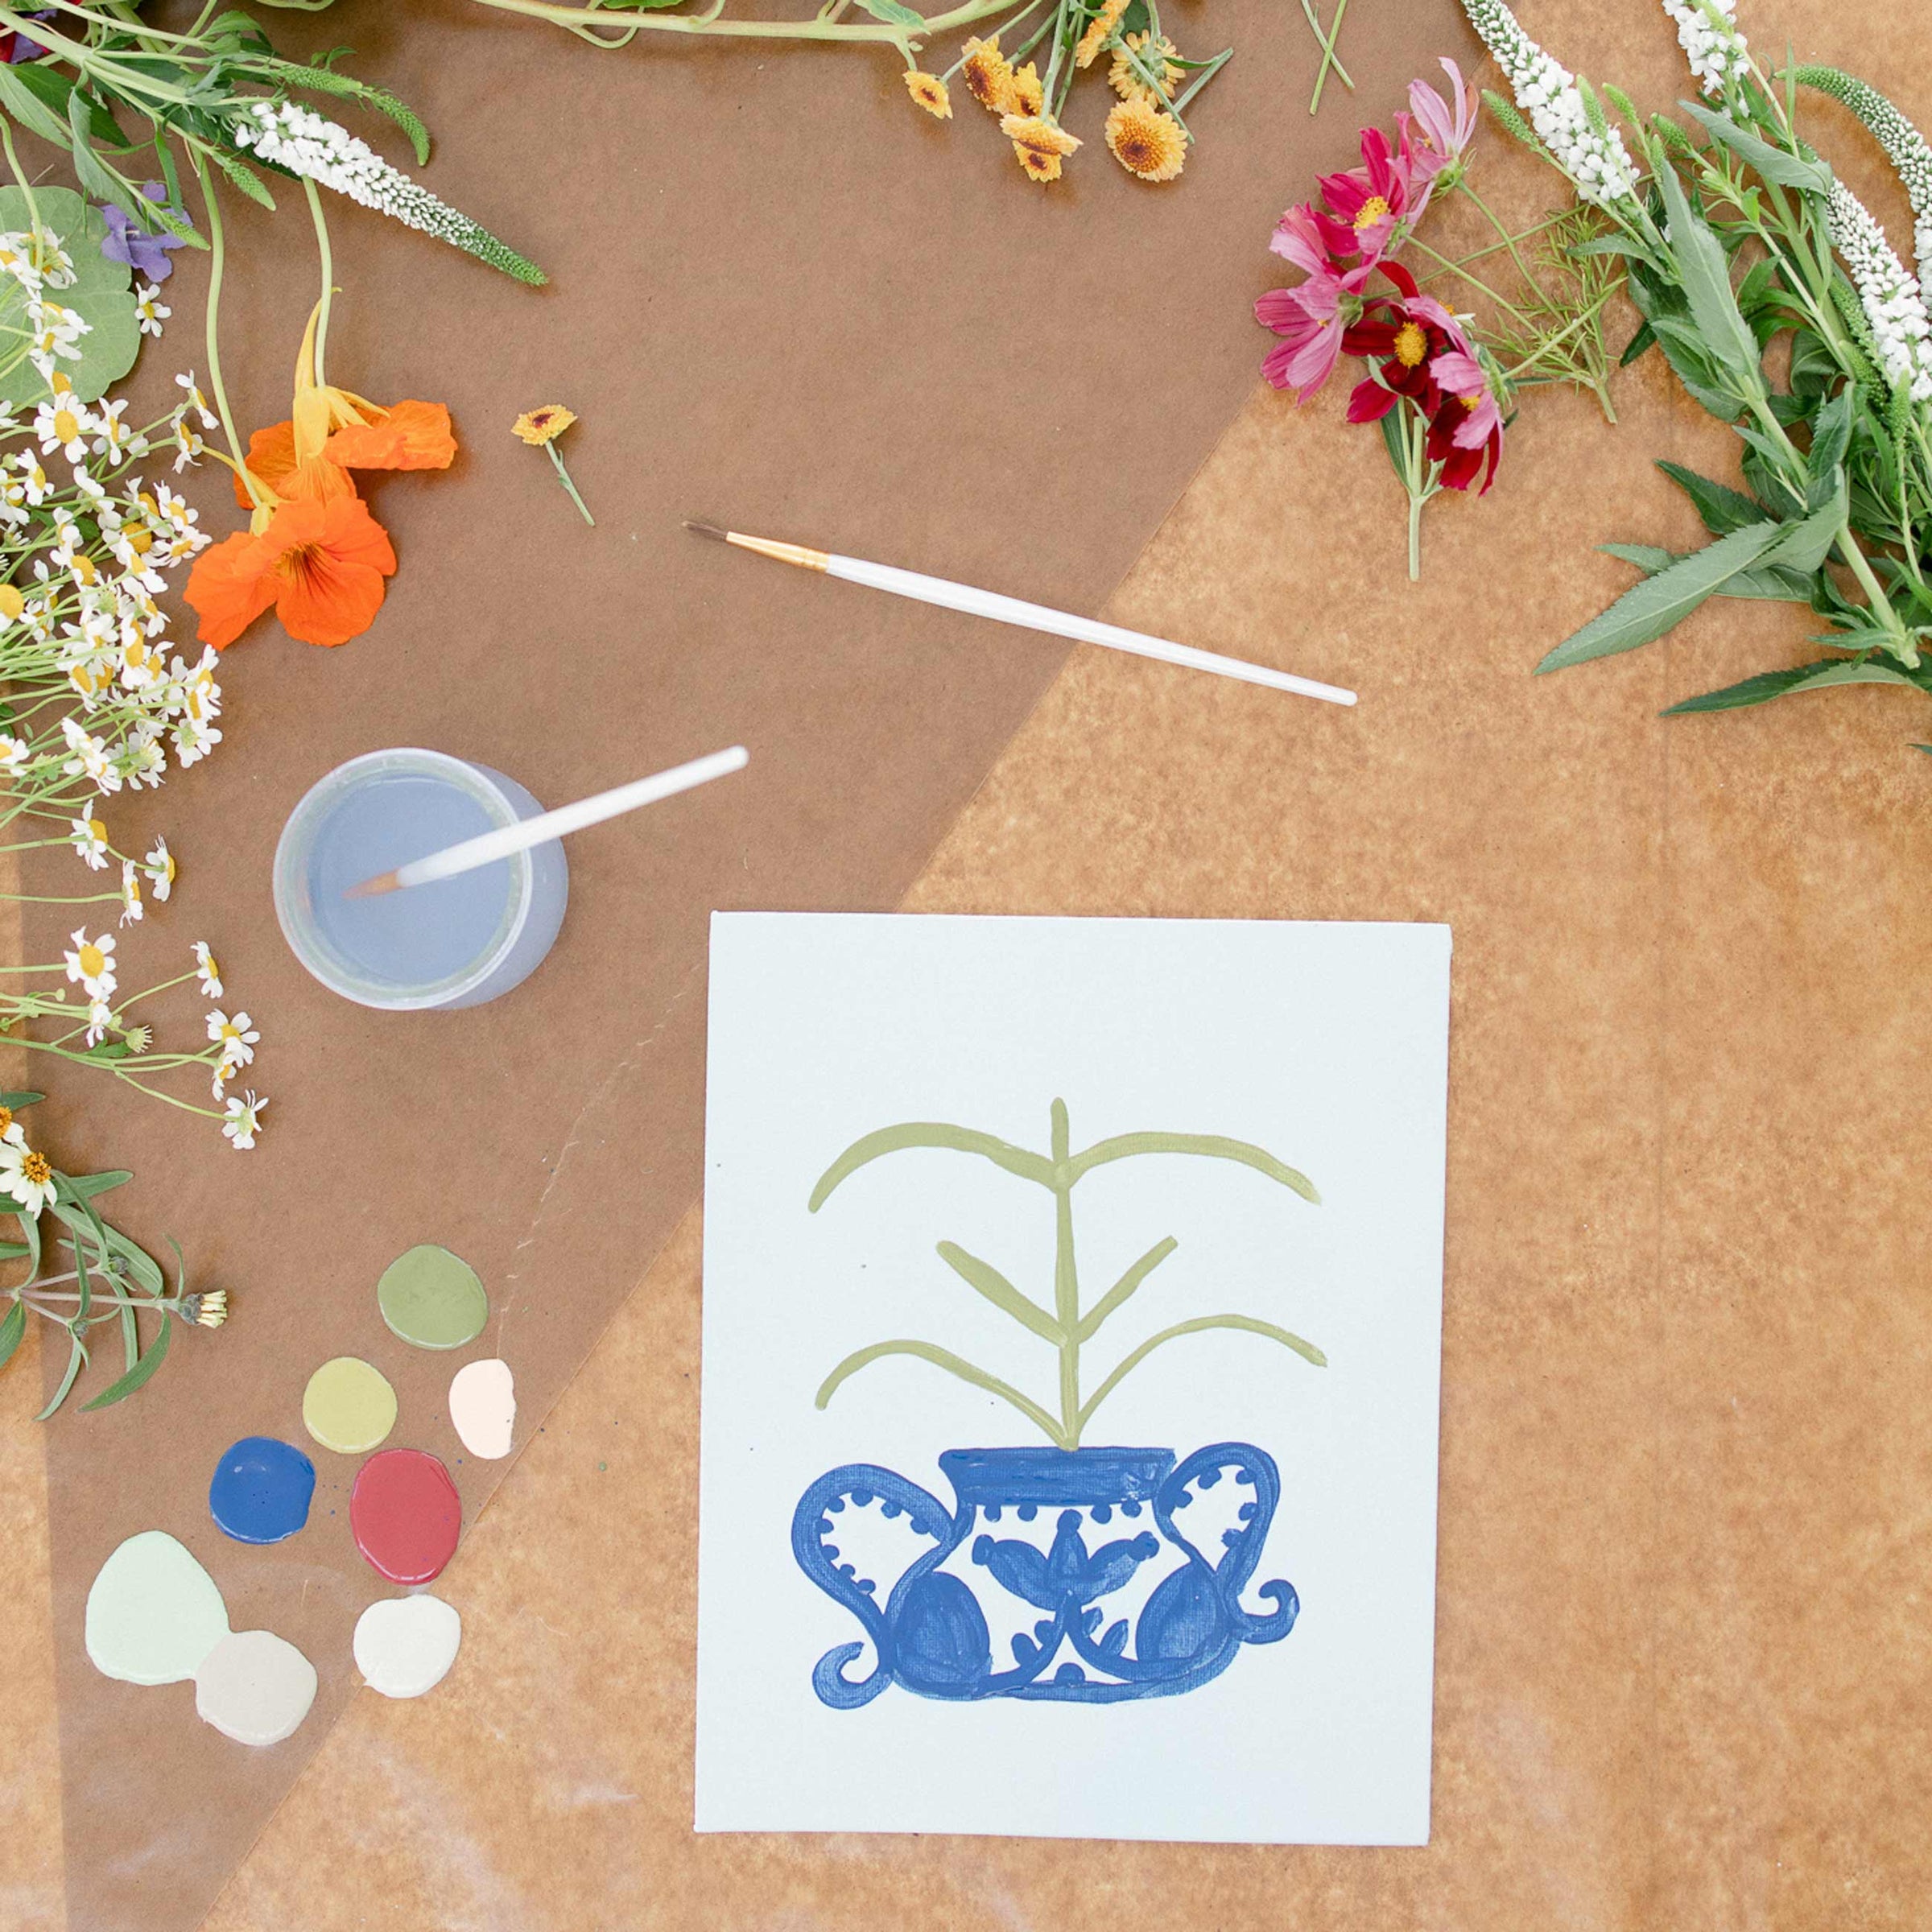
1. Paint a Design
Start by painting a design onto your canvas or paper using your paint of choice. We used canvas and acrylic paint for this craft, but watercolors (with durable watercolor paper) work nicely too!

2. Press Flowers
While your piece dries, press the flowers by sandwiching them between parchment paper. Place a heavy microwave-safe dish on top of the flowers and microwave them for 1-2 minutes (smaller flowers only need a minute).


3. Adhere Flowers to Art
Use spray adhesive to attach the pressed flowers to your artwork. We found it works best if you spray on the back of the flower to adhere to your canvas.

4. Dry + Frame
Once dry, frame the final piece behind glass to preserve it for the long haul. Hang and enjoy!


Photography by Alex Creswell

